CentOS 7 has been released. I have made an updated guide for installing that too, you can find it here: How to install a CentOS 7 64Bit server
Now that CentOS 6 has been released, I though I should make a quick step-by-step guide on how to set up a CentOS server yourself!
Download the iso
Download the netinstall iso: http://mirror.1000mbps.com/centos/6.6/isos/x86_64/CentOS-6.6-x86_64-netinstall.iso
Burn or mount and boot the iso
Burn iso, or mount it in your virtual machine and boot the system up. You will get following screen:
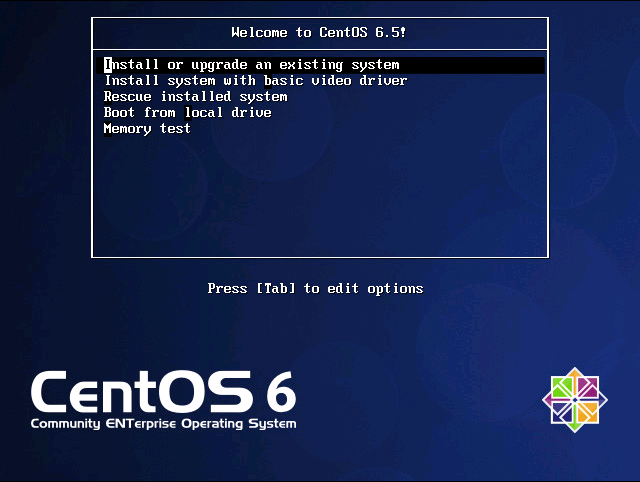
First step!
Choose “Install or upgrade an existing system” and press Enter
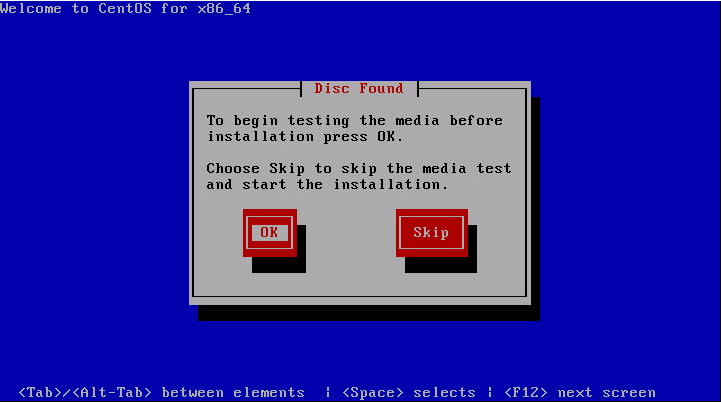
Check the media
After some text scrolling fun, you will get the following picture, this is a prompt that asks if you want to check that your iso or cd has the correct content.
This only has to be done once per iso or cd.
press Enter to choose OK
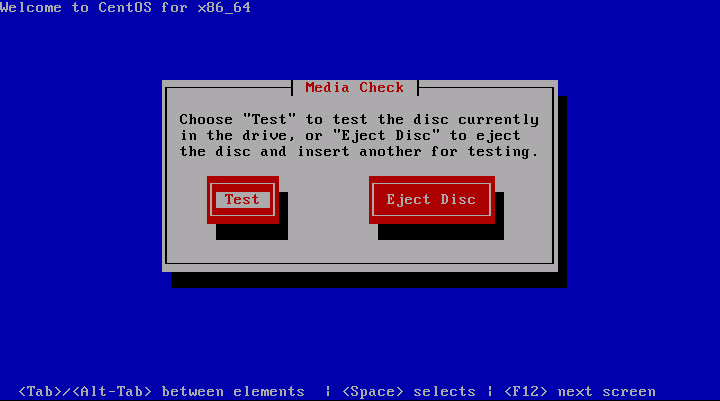
Testing the media
Press Enter again to choose “Test” since we already have the disk in the drive.
Media successfully testet
When the progress bar reaches 100%, you will get the following screen if your media is verifyed correctly. If not, you need to burn a new disk or download the .iso again!
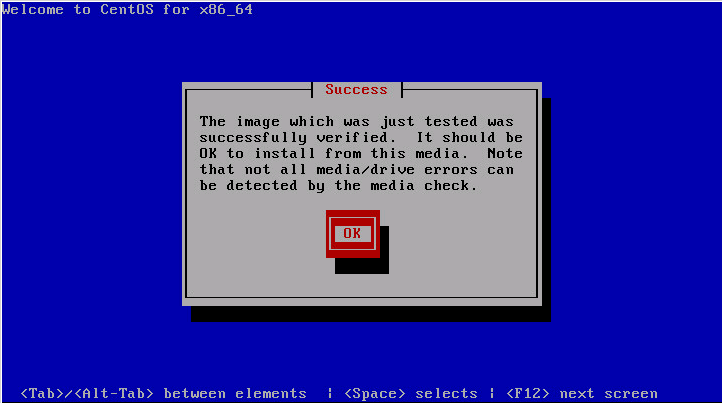
Press Enter, to select OK and continue.
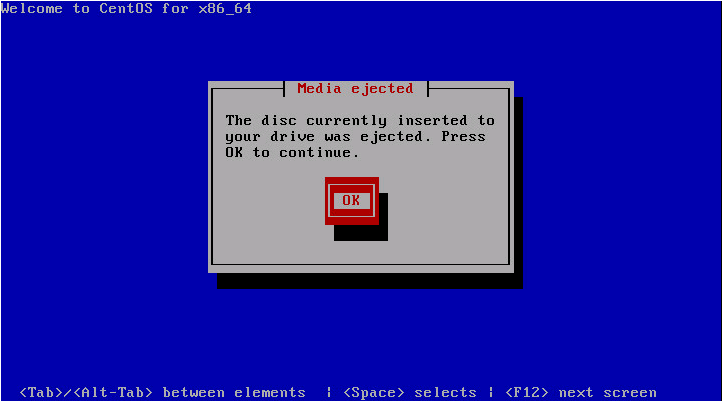
Reinsert the media
You now get the following screen.
This is because the test made the server eject the CD, and you have to insert or mount it again. When insterted or mounted, press Enter to continue.
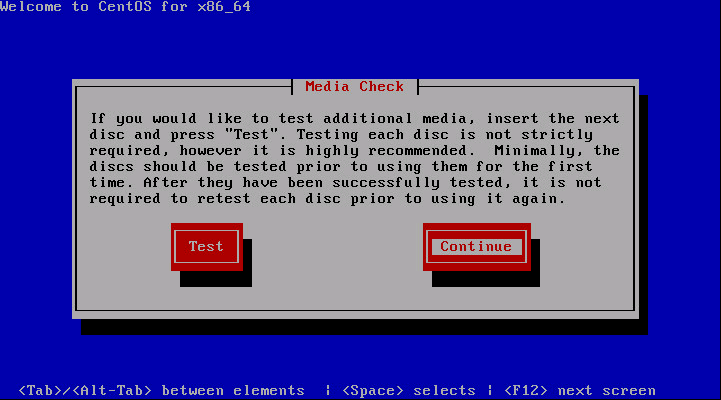
Test another media?
You now see the following, since we don’t want to test another media, set “Continue” as the highlighted button using the arrows, and press Enter to continue.
Installation language
Choose the language during the installation progress.
Since this guide is in english, I will choose english and you should do the same as well, just so it doesn’t get confusing.
Find the language you want, and press Enter to continue.

Keyboard layout
In this step, you have to find your keyboard layout.
Since I am Danish, my keyboard is DK.
Find the keyboard layout you use in the menu using the arrows and choose it by pressing Enter.

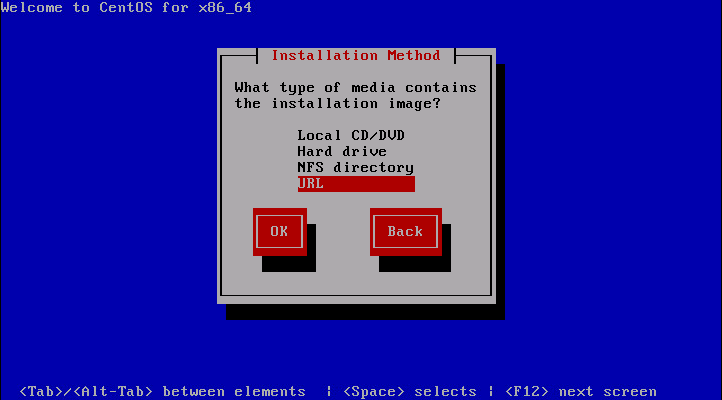
Choose installation media
Since we are using the Netinstall media, you can’t choose “Local CD/DVD” at this point since the installation files are not there.
You have to highlight URL since we want to install the files from the web.
highlight URL and press Enter to continue.
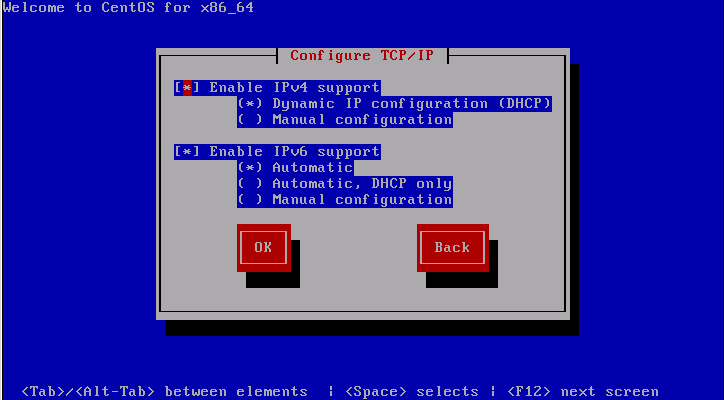
Network
If you run a DHCP server, which I guess you are since your other computers on the network are probably getting an IP address automatically, Just press Enter at this screen to get an IP address automatically.
You can also specify one manually, but you have to know what you are doing then.
In this guide, I will choose automatic so I just press Enter.
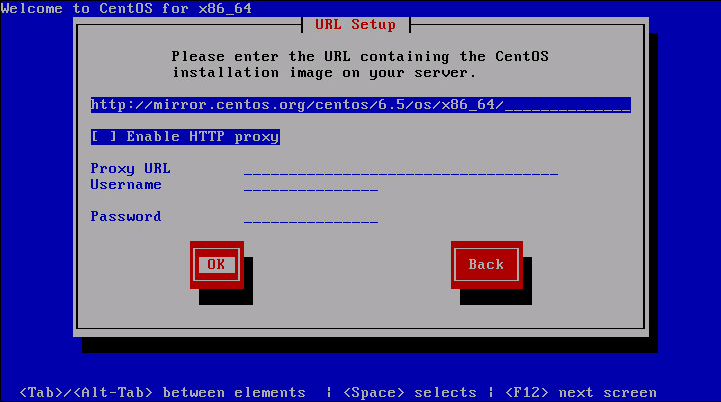
Mirror url and proxy
Your will now get this screen.
Fill out the URL field with the mirror url for the CentOS files to install.
CentOS 6.6 – x86_64 – 64-bit
http://mirror.centos.org/centos/6.6/os/x86_64/
If your are not using a proxy server, just skip the other fields by highlighting the OK button using the arrows and pres Enter.
If you are using a proxy server, please fill out the fields first.
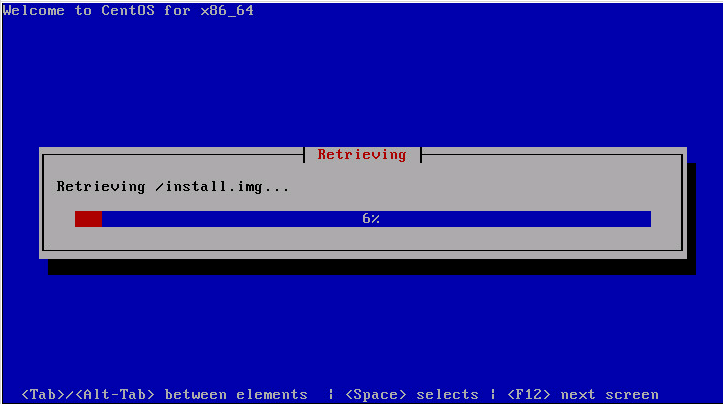
Once you pressed OK, you will see the progress bar and a description saying “Retrieving /install.img” like in the picture below. This can take quite some time depending on your internet speeds:
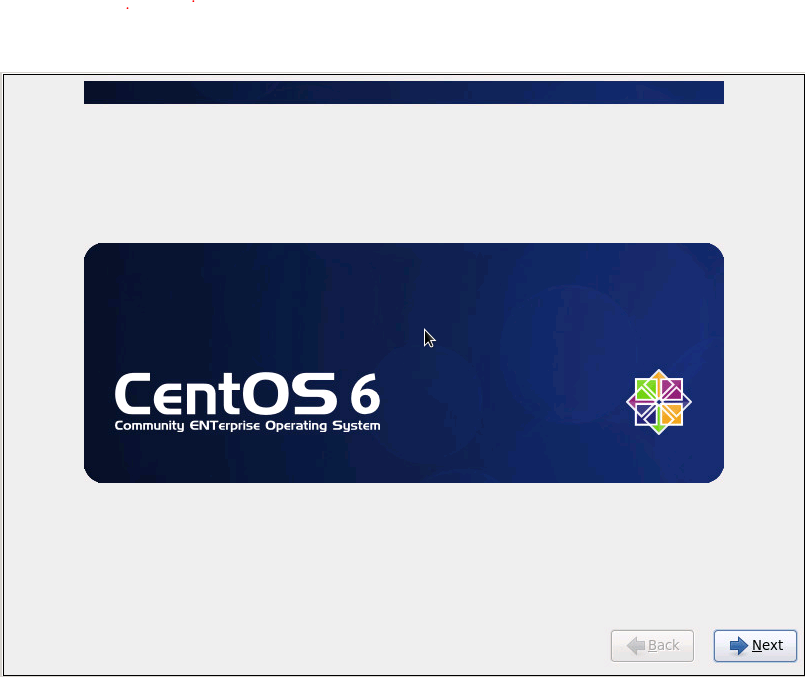
Graphical menu
Once the installation has downloaded all the needed content, you will see the following screen.
You can now use the mouse to navigate in the menus.
Press the “Next” button to continue.
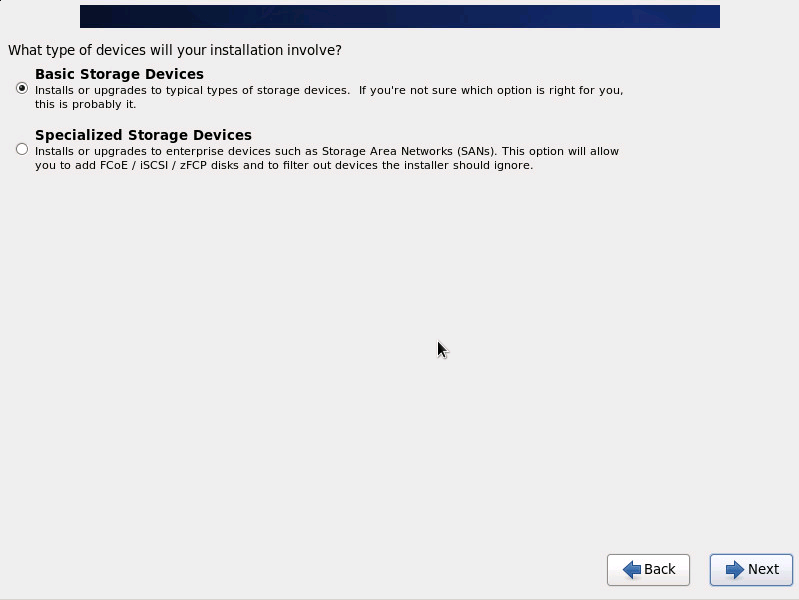
Hard drive type
Choose whether you want to install the system to a basic harddrive or some advanced enterprise enviroment like SAN, iSCSI and other fun stuff.
If this is a home, or just a normal server you would choose the top choice here “Basic storage device”. Since you are following this guide I guess this is the one you want too.
In this example, I will use the Basic storage device. This guide will not cover SAN’s and other high-end solutions.
Pick Basic storage device using the mouse and press Next to continue
Install type
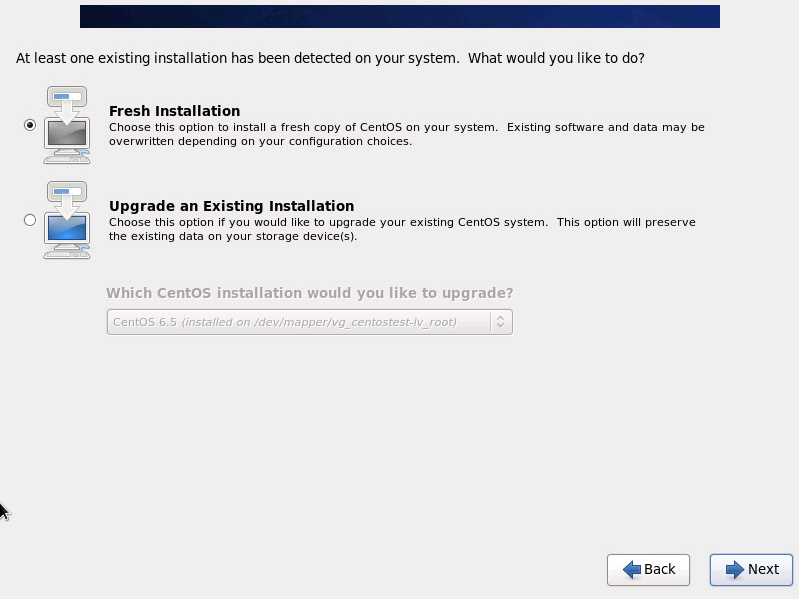
You will now get the screen you see below.
Since this is a new server, and everything on the hard drive is just junk, or the hard drive is empty. you have to choose “Fresh installation” and press Next to continue.
Hostname
After a progress bar did it’s job, you will see the following.
Here you have to enter a hostname. This is the computers/servers name.
This can be anything you want, just make sure that it is not already in use on your network.
for this guide, I will call mine “centos-test”.

Time zone
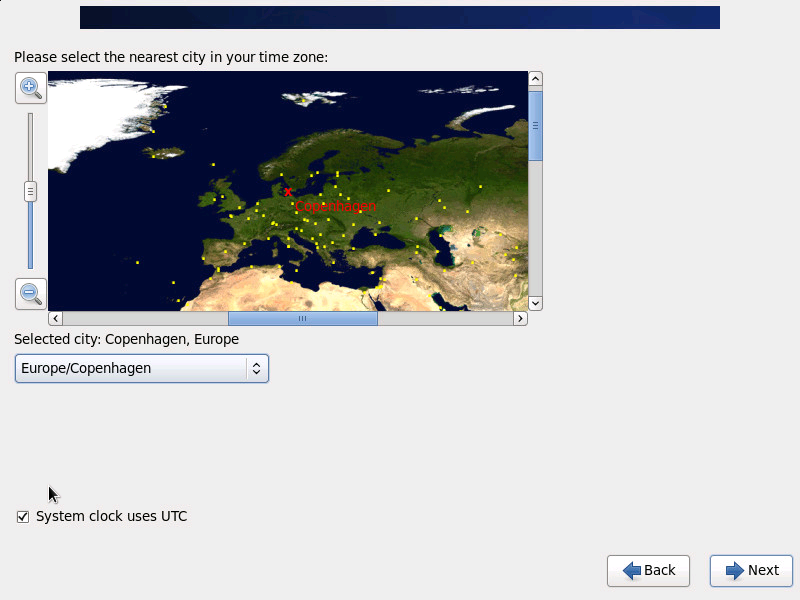
You now have to choose what time zone the server is in.
My server is in Denmark, therefore I will choose Europe/Copenhagen.
You should choose the correct time zone you are in at this screen, then press Next to continue.
If you choose the wrong time zone, your clock will not be correct when the server is running.
Root password
Here you have to type in the password for the root (administrator) user.
Type it two times, and press Next to continue.

Partitioning
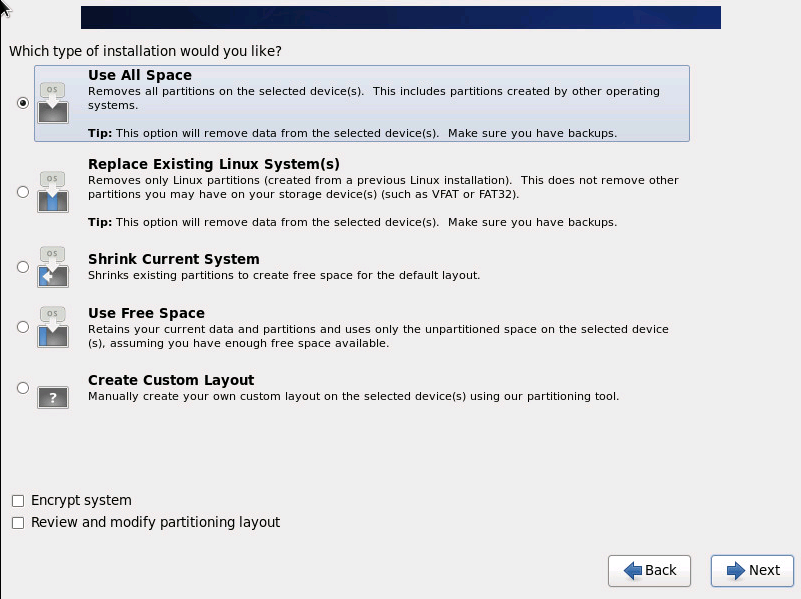
On this next screen, you get a lot of options.
In this guide I will only cover how to use the entire hard drive for the CentOS system, and delete everything existing on it.
This option is called “Use all space” and is the top one.
The others, are for when you have multiple operation systems running on the same hard drive, but since this is a server, I will assume that you are never going to do this.
Choose “Use all space” and press Next to continue.
Partition deletion confirmation
You now get the following question.
This is just to confirm that you want to delete all data on the hard drive.
Click “Write changes to disk” to continue.

Choose machine type
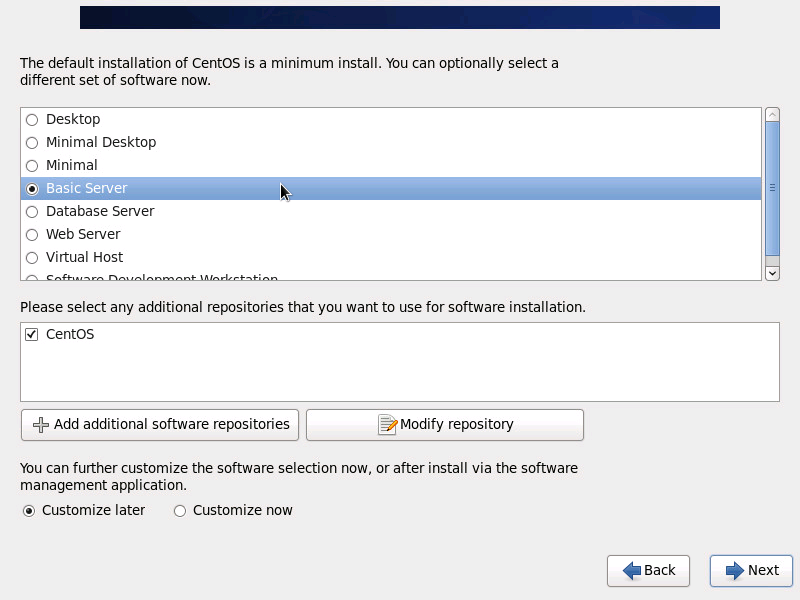
After some progress bars went forth and back a couple of times, you will be presented with the following screen.
Here you have to choose which type of computer this is.
Since we are installing a server, I will choose “Basic server” and press Next to continue.
You have the option to “Customize now” at the bottom. Tick this if you want to choose exactly what software and what software not to install during the installation.
Since this has to be a basic server install, I will not tick it in this guide.
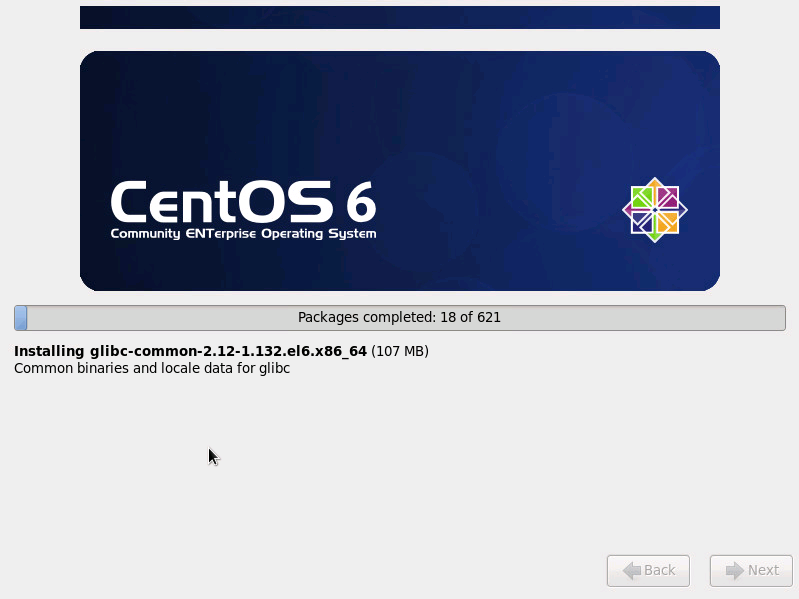
Wait….
Now you wait.
The installation has begun, and you see a nice looking progress bar like in the screenshot below. Wait for it to get to 100%. This might take some time, so go grab a cup of coffee, look at some of my other posts here at dev-random.net, rate and share this post or leave a comment below.
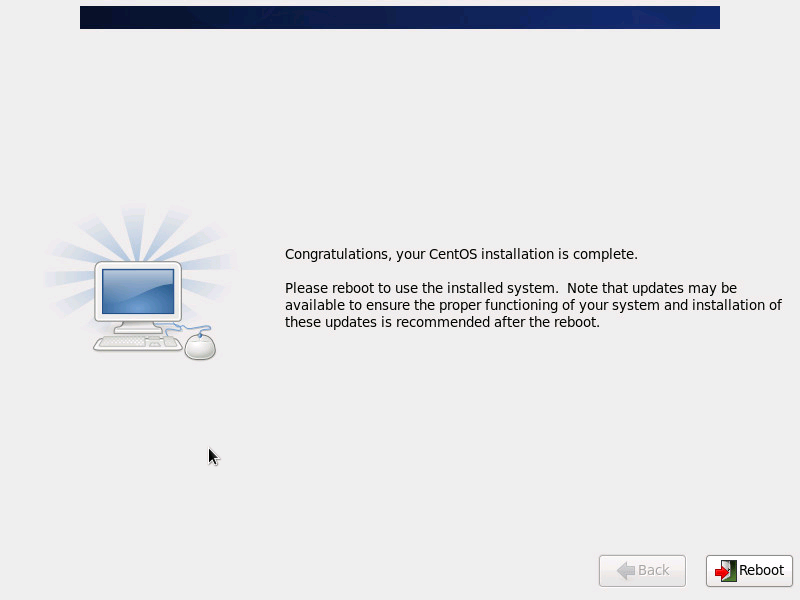
Reboot
When finished, you get a button saying “Reboot”. Press it.
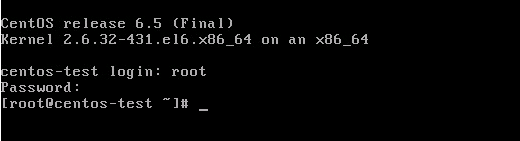
Username and password
Once installed, and rebooted. It will ask for the username and password.
Type in “root” as the username, and the password you created earlier.

Success!
When logged in, you will see nothing but this.
Your server is now running, and is ready to install software and do as you command.
Check for updates
Start out by updating the system, to make sure everything is up-to-date.
Type the following command and press Enter:
yum update -y
The system will then update all packages. The server is ready for your next command when returned to the shell, with the blinking cursor where you can write a new command.
The output of this was too long for a screenshot to make sence, so no screenshot here.
Done
That’s it. You are done, the server is now running and fully up to date.
Thanks for this, this is really hard to find this guide like this 😀
Hi, is there anyway to get full iso for Centos Server 6.5 without download?
Wait what? i don’t understand.. If you want the iso, you have to download it.
I guess you can order it on a DVD somewhere, but don’t know for sure, and that will most likely cost you some money.
I it’s because you are tight on network resources. Then i recommend downloading the “netinstall” iso (Links in this guide at to the netinstall iso), the iso contains only needed stuff to start the installation that will then download only the needed files you need based on your choices doing the installation.
Hi Steffan,
Nice write up. I had tried installing Cent os 6.5 on one of my lab machines. And after I had selected “Use all spaces” option, the installation went through fine. But, after the machine rebooted at the end, the machine just shows the error “Operating System Not found”. Any ideas?
Thanks
Kate
Sound like the bootloader did not get installed correctly.
Try to just reinstall CentOS (if you have not made any settings yet) or it might also be a wrong boot order in your BIOS.